How plastic and RFID cards are manufactured
The six stages of plastic and RFID card production, what the buyer controls at each one, and which late changes send a job furthest back.
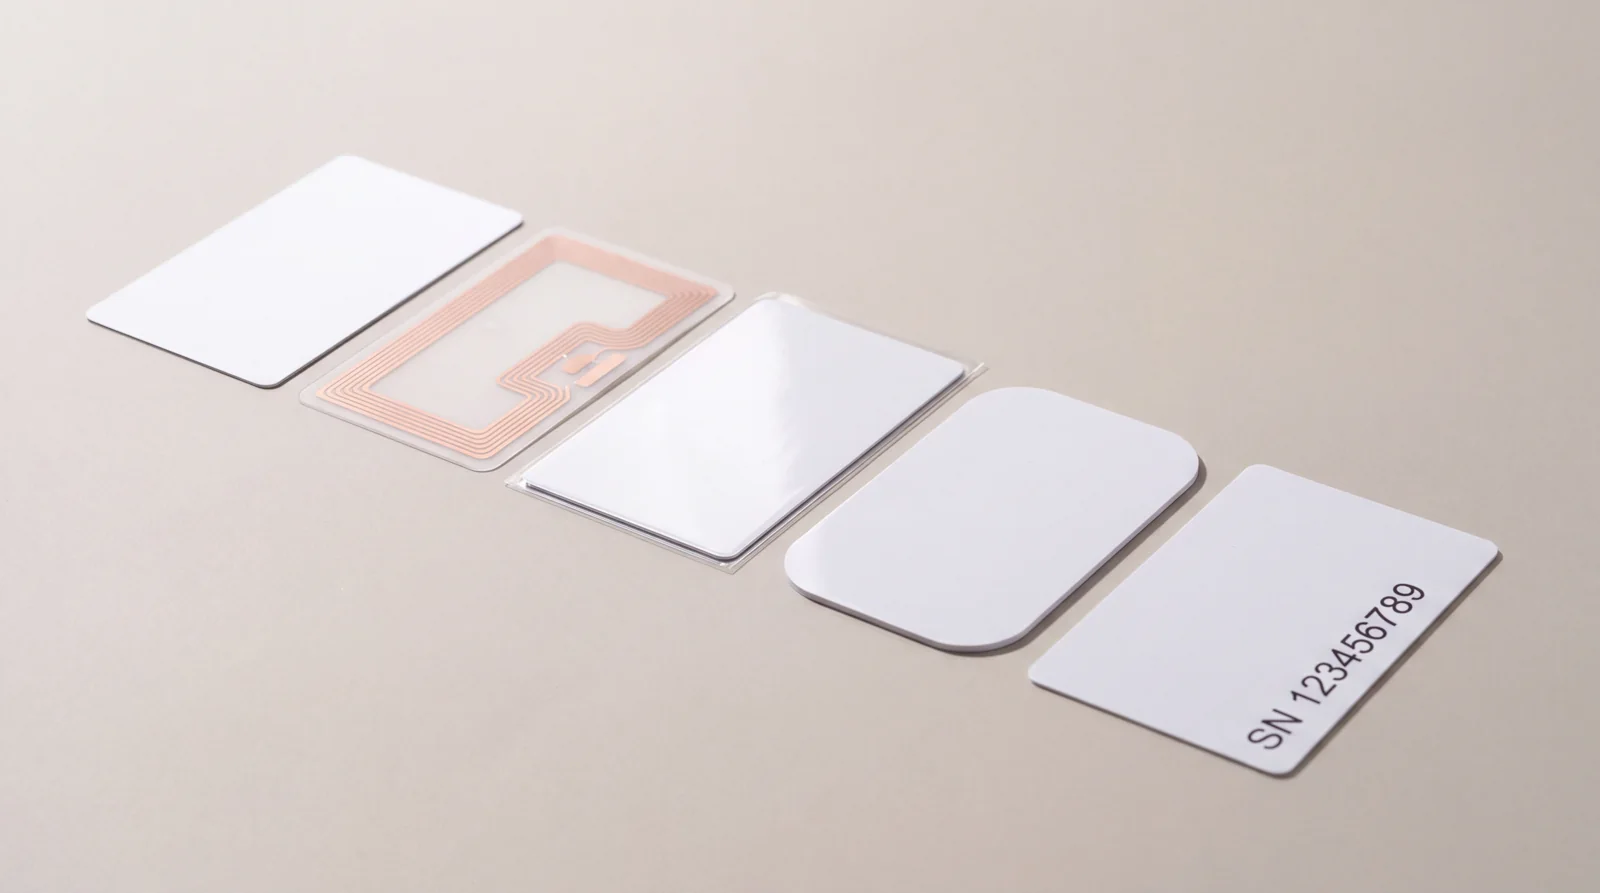
Every plastic or RFID card programme goes through the same broad sequence: a specification is released, materials are prepared, artwork is printed, layers are laminated and cut, variable data is applied and the batch is released against evidence. The equipment and the order of some operations vary between constructions, but the dependencies between stages do not.
For a buyer, that is the useful part. Knowing the route tells you where an approval still costs nothing and where the same change means scrapping sheets that are already printed or laminated. This guide walks through the six stages of a typical route, what the buyer controls at each one, and which late changes send a job furthest back.
It is written for technical purchasing and quality teams, and for distributors and integrators who specify cards on behalf of a client and need to know which questions to settle before the job is released.
01. The route at a glance
The diagram below is a generic map. A blank white card skips printing and personalisation, a printed PVC card with no chip skips the inlay, and a fully personalised RFID credential uses all six stages.
The first four stages build the physical card and are the expensive ones to repeat. The last two apply data and prove the result. Most avoidable delays come from approving stage 05 content, such as numbering or chip data, while stage 01 questions are still open.
02. Release the specification before making parts
The released specification defines the construction, dimensions, artwork, data and acceptance requirements in one controlled revision. It is the only document production should work from. A quotation, an email thread and a proof that each describe the order slightly differently are three competing specifications, and the card that ships will match only one of them.
The elements interact more than they appear to. A slot punch has to clear the antenna of an RFID inlay. A metallic or holographic feature may limit where variable print can go. A transparent card exposes the inlay, so its position becomes part of the design. A magnetic stripe or signature panel changes the surface available for artwork. These are construction questions, and they belong in the specification before anyone approves a visual.
What the released revision should contain
- Construction: material, layer build, finish and, for RFID, the chip type and any encoding requirement.
- Geometry: outline, corner radius, slots or holes and their position relative to the inlay.
- Artwork: approved files by revision, colour references and any security or special features.
- Data: what varies card by card and how it is supplied.
- Acceptance: the checks the batch must pass and the evidence that comes with it.
The guide to specifying a card order covers the brief in full.
03. Materials and the inlay
Card bodies are usually built from sheets rather than individual pieces. Core sheets carry the print, clear overlays protect it, and the choice of material (standard or recycled PVC, for example) sets how the card behaves in lamination, in printers and in use.
For an RFID or NFC card, the electronic part is prepared as an inlay: a chip connected to an antenna and held in a sheet layer that will sit inside the card. The inlay is where compatibility with the reader is decided, so the chip must match what the installed system expects. Swapping a chip family late is not a production detail, it is a change of product. The RFID and NFC card range lists the constructions available.
Two buyer checks belong here. First, confirm the exact chip and any configuration the system needs, not just the frequency. Second, confirm that the inlay layout clears every slot, hole or cut-out in the approved outline.
04. Printing and decoration
Static artwork is normally printed on the core sheets before lamination, which is why it is protected by the overlay in the finished card. Offset and screen printing are common for this stage, and some effects, such as metallic inks, spot colours or UV features, are also applied at sheet level. The guide to printing methods and finishes compares the options.
Because many cards sit on one sheet, the printed image has to register with the later punch. Artwork that runs too close to the edge, or that assumes an exact position for a slot, can look correct on screen and still fail at the cut. Ask for the bleed and safe area that apply to your construction, and approve a proof that shows them.
Colour is approved against a physical reference where it matters. Screen proofs are useful for layout and content, but a brand colour that has to match an existing card or a client's standard needs a printed sample or an agreed reference.
05. Lamination and cutting
After printing, the sheets are collated in their final order and fused under heat and pressure into a single laminated sheet. The sheet is then punched into individual cards.
Lamination is where the physical properties of the card are fixed: thickness, flatness, the bond between layers and the surface finish. A card that curls, delaminates or feeds badly in a printer usually traces back to the construction or the lamination. The card thickness and lamination guide goes into the layer build and its failure modes.
Punching is where geometry is fixed: outline, corner radius, slots and holes. For special shapes, the tool itself is part of the specification and is approved once, then reused. This is also the point where sheet position and card identity separate, which matters if the cards carry variable data applied before the cut.
06. Personalisation and configuration
Personalisation applies what differs from one card to the next: sequential numbers, barcodes, QR codes, names or photos, magnetic stripe data and chip encoding. Depending on the technology it is done by inkjet, thermal transfer, laser marking, embossing or encoding equipment, and some of it can happen before the cut while some happens card by card afterwards.
The rule that matters is association. Every visible identifier must stay linked to the correct electronic record and the correct line in the data file. Define that relationship before processing: which field is printed, which is encoded, in what order and how the cards are packed. Rejected pieces and their replacements need a reconciliation route, so that a delivery which looks correct does not hide a duplicated or missing record. The variable data guide and the note on blank or pre-encoded cards cover the detail.
07. Release against evidence
Final inspection compares the finished batch with the approved revision. Visual, dimensional and functional checks answer different questions: whether the card looks right, whether it fits, and whether it works with the reader or the printer it is meant for. One does not replace another.
Ask which checks are performed, how samples are selected and what results accompany the lot. A useful release record links the job revision, the material and component references, the inspection results and the quantity shipped. That chain is also what makes a later question answerable: if a problem appears in the field, the affected lot can be identified without recalling everything.
Inspection cannot fix an unapproved construction or an undefined acceptance rule. If nobody agreed what a pass looks like, the batch can only be released on opinion. The delivery inspection checklist covers the receiving side.
08. Why the sequence matters to the buyer
Late changes travel backwards through the route. The earlier the stage a change touches, the more work is repeated after it.
A revised outline can mean new tooling and a new inlay position. A different surface finish changes the print and lamination stages and can affect how personalisation takes on the card. A changed data rule can invalidate a prepared file and any cards already encoded. A changed acceptance rule is the cheapest to make and the most often left until last.
The practical step is simple: before agreeing a change, ask which stages must be repeated and ask for a revised approval plan and timing. A change that looks cosmetic from the outside may reset the job to stage 02.
09. Buyer checklist
Before approval
- One released revision covering construction, geometry, artwork, data and acceptance.
- Chip and configuration confirmed against the installed readers, not just the frequency.
- Inlay clearance checked against every slot, hole and cut-out.
- Proof with bleed and safe area for the actual construction.
- Representative sample where colour, finish or function has to be proven.
- Data file rules agreed: what is printed, what is encoded and in what order.
- Inspection evidence defined, and a shipment record linked to the lot.
10. Worked example
Illustrative scenario, not a customer case. A buyer approves the artwork for an RFID staff card, including a slot for a clip, before the inlay layout is checked. The slot position crosses the antenna path. At that stage the printed sheets are either scrapped or the slot moves, which changes the approved design.
Moving the construction review ahead of artwork release avoids the problem. The inlay position and slot are settled first, the artwork is drawn around them, and both teams approve one revision. The job takes the same time, and nothing is made twice.
11. Where Kaway fits
Kaway manufactures in its own plant in Dongguan, China. The most useful thing a buyer can send with a request is the construction, the geometry and the data rules together with the artwork, so that inlay clearance, print layout and personalisation are settled before anything is printed.
Minimum order is 500 units. Standard production is 13 calendar days, 8 calendar days on express and 12 calendar days for wooden cards. A free sample is available where the request is qualified. The standard constructions are on the PVC card page and the RFID and NFC card page.
Discuss the specification and acceptance evidence for your card project with Kaway Group.
12. Frequently asked questions
Is the chip added before or after printing?
In a typical laminated RFID card, the chip and antenna sit in an inlay layer that is collated with the printed sheets and laminated with them. Chip data, where required, is usually encoded after the card is formed.
Can the card design change after the inlay is chosen?
Artwork can usually change without touching the inlay. Changes to the outline, slots or holes need the inlay position checked again, because the antenna must stay clear of any cut.
Why does artwork approval matter for the schedule?
Printing, lamination and cutting all depend on one approved revision. Until the construction, artwork and data rules are settled, production cannot start without the risk of making the job twice.
What should come with the delivery?
At minimum, a record that links the shipped quantity to the approved job revision and the inspection results. For personalised or encoded cards, add the reconciliation of the data file against the cards produced.
About this guide
Published by Kaway Group. The date on this page shows when this guide was last updated. If anything here is out of date, or contradicts what your integrator tells you, tell us and we will correct it.
Send the reader or lock model, the quantity and the date you need them. That is enough for us to answer.
Talk to us